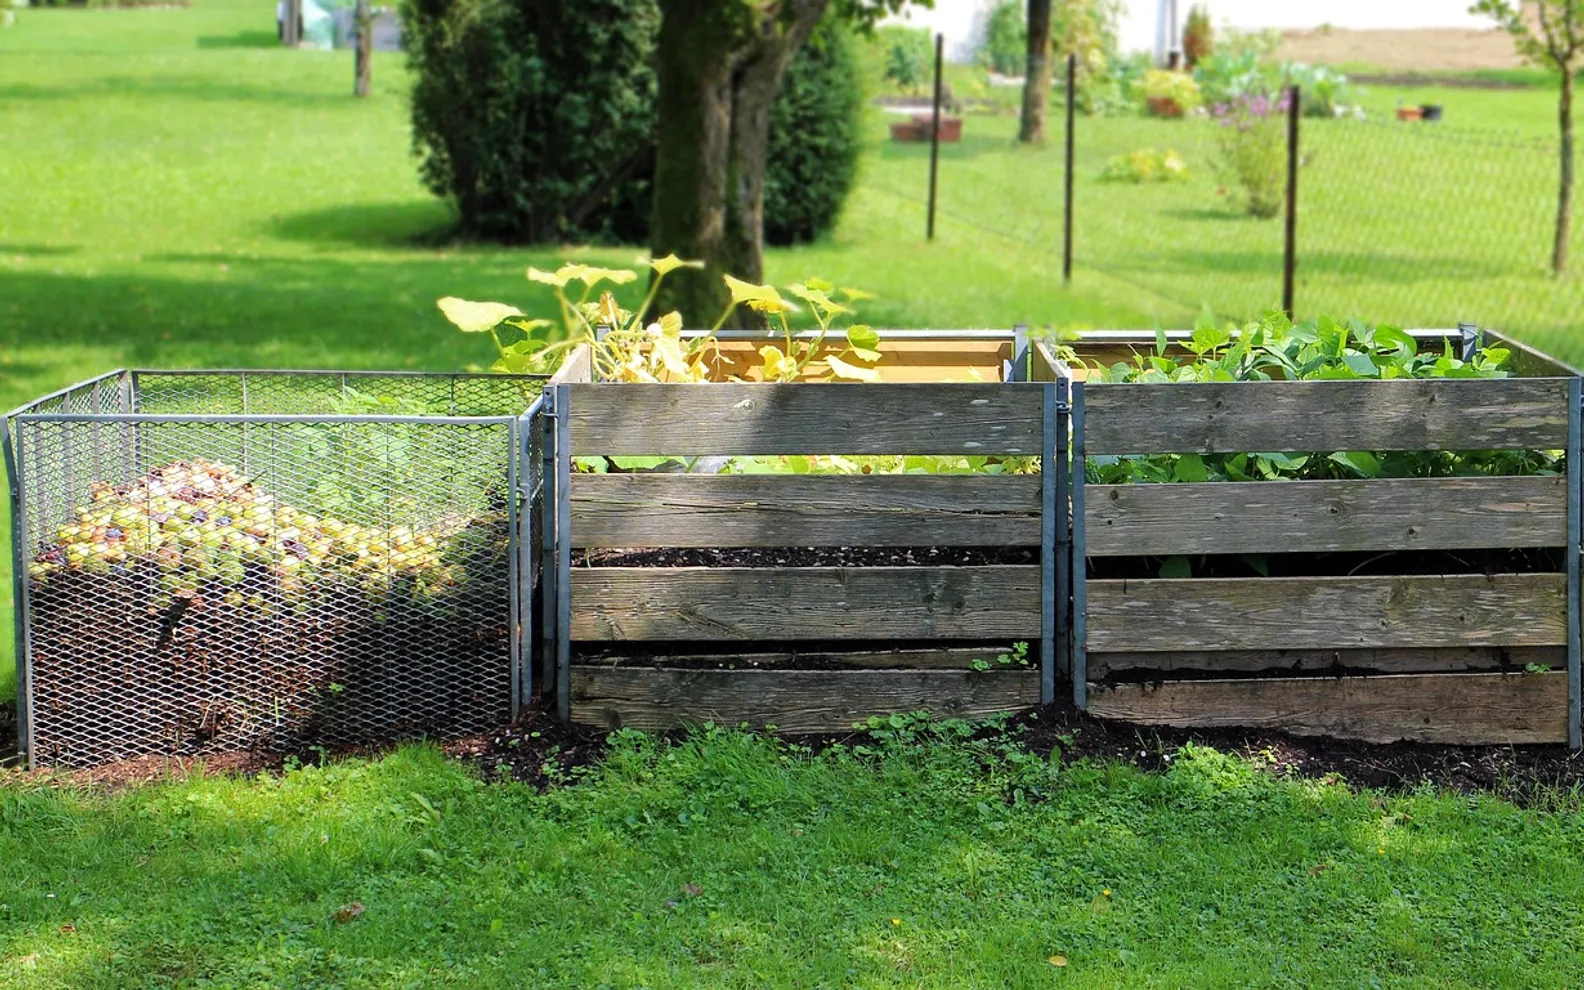
To start composting at home, pick a spot for a bin or heap, then add a mix of moist "green" material such as fruit and vegetable scraps and grass clippings with dry "brown" material such as fallen leaves, cardboard and straw. Keep the pile about as damp as a wrung-out sponge, turn or mix it every few weeks so air reaches the middle, and leave it to break down. Depending on the method and the weather, the result is ready in a few months to a year: dark, crumbly and smelling of a forest floor.
That is the whole idea. The rest of this guide covers the details that decide whether a compost heap works quietly in a corner or turns into a soggy, smelly problem.
What compost actually is
Compost is organic matter that bacteria, fungi, worms and other small creatures have broken down into a stable, soil-like material. Gardeners value it because it improves soil structure: it helps sandy ground hold on to water and helps heavy clay drain. It also feeds the soil life that plants depend on. Making it at home keeps kitchen and garden waste out of the rubbish bin and gives you a steady supply for beds and borders.
Greens and browns: what can you compost?
Everything that goes in falls roughly into two groups. Greens are wet and rich in nitrogen, so they heat the heap and speed it up. Browns are dry and rich in carbon, so they add bulk, soak up moisture and keep air pockets open. A heap made only of greens slumps and smells; one made only of browns barely changes for months.
| Greens (wet) | Browns (dry) | Leave out |
|---|---|---|
| Fruit and vegetable peelings | Fallen leaves | Meat, fish and bones |
| Coffee grounds and tea leaves | Plain cardboard, torn up | Dairy products and cooked food with oil |
| Fresh grass clippings | Straw and dry plant stems | Pet waste from cats and dogs |
| Soft plant trimmings and spent flowers | Shredded paper without glossy coating | Diseased plants and weeds in seed |
| Annual weeds before they flower | Wood chips and small twigs | Glossy or coated paper, plastic-lined cups |
A loose rule is to add roughly equal amounts of greens and browns by volume, or a little more brown. You do not need to measure. If the heap looks wet and slimy, add browns; if it looks dry and nothing seems to happen, add greens or water.
Choosing a method for your space
The best system is the one that matches the amount of waste you produce and the room you have.
| Method | Suits | Good to know |
|---|---|---|
| Open heap or bay | Large gardens with lots of leaves and clippings | Cheap and roomy, but looks untidy and is easier for animals to reach |
| Closed bin on soil | Most small and medium gardens | Tidy and keeps the heat in; worms can move up from the ground |
| Tumbler | Patios and people who dislike forking a heap | Easy to turn and well sealed, but holds less and can dry out |
| Worm bin | Flats, balconies and kitchen scraps only | Works indoors or out if kept frost-free; needs smaller, regular feeds |
| Bokashi bucket | Kitchens with no garden space | Ferments scraps in a sealed bucket; the result still has to be buried or added to a bin |
Starting a heap, step by step
- Pick the spot. Choose level, well-drained ground that is easy to reach from the kitchen in winter. Partial shade keeps the heap from drying out in summer.
- Stand it on soil. Setting a bin directly on bare earth, rather than paving, lets worms and other helpers move in and lets excess water drain away.
- Start with a coarse layer. A layer of twigs or stems at the bottom helps air circulate under the pile.
- Add greens and browns in turns. Each time you tip in a caddy of kitchen scraps, cover it with a couple of handfuls of leaves or torn cardboard.
- Chop large pieces. Smaller pieces break down faster. Cut thick stems and whole vegetables into chunks.
- Keep it damp. Water a dry heap lightly in hot weather and cover an open one in heavy rain.
- Turn it. Every few weeks, mix the contents with a fork or roll the tumbler. Fresh air speeds things up and stops the middle from going sour.
- Harvest from the bottom. Finished compost collects at the base. Many bins have a hatch for this; with a heap, move the unfinished top layer aside and dig out the dark material beneath.
When things go wrong
- It smells sour or of rotten eggs. Too wet and short of air. Mix in dry browns and turn the heap.
- It smells of ammonia. Too many greens, often a big load of grass clippings. Add browns and mix.
- Nothing is happening. Usually too dry or too brown. Add greens and a little water, and turn it. Cold weather also slows everything; activity picks up again in spring.
- Flies over the bin. Bury fresh scraps in the middle and cover them with browns rather than leaving them on top.
- Visits from rats or mice. A warm heap with food in it is attractive to rodents. Keep cooked food, meat and bread out, use a closed bin with a fitted lid, and consider mesh under the base. If signs of rodents appear around the house as well, our overview of rodent control for city homes explains what to check and when to call for help.
Using finished compost
Compost is ready when you can no longer recognise what went in, and it is dark, crumbly and earthy-smelling. Sieve out any lumps and put them back in the bin for another round.
Spread a few centimetres over beds in autumn or spring and let worms pull it into the soil, or fork it into the top layer before planting. It is the soil improver that a first growing season depends on, as described in how to start a vegetable garden. You can also use it as a mulch around shrubs to hold moisture and keep weeds down.
Garden compost on its own is often too rich and heavy for pots. For containers and windowsill pots, mix a small amount into a bought potting mix rather than filling the pot with it; the soil advice in our guide to growing herbs indoors applies here too.
When a home bin is not enough
A household bin copes with peelings, leaves and regular trimmings. It does not cope with the branches from a large tree removal, a whole hedge or the soil and turf from a garden makeover. Those volumes go to a local green-waste collection or a hired container. For the commercial side of that, including sorting waste streams and keeping records, see our piece on container rentals and waste compliance for businesses.
Quick questions
How long does compost take?
A well-balanced heap that is turned regularly can be ready in a few months in warm weather. A heap that is simply left alone still breaks down, but it usually takes around a year.
Can I compost in winter?
Yes. Keep adding scraps and browns; the heap slows down in the cold but picks up again as temperatures rise. A lid or a piece of old carpet on top helps keep some warmth in.
Do I need to buy an activator?
Not usually. A spadeful of garden soil or a little finished compost introduces the same organisms, and a good mix of greens and browns does the rest.