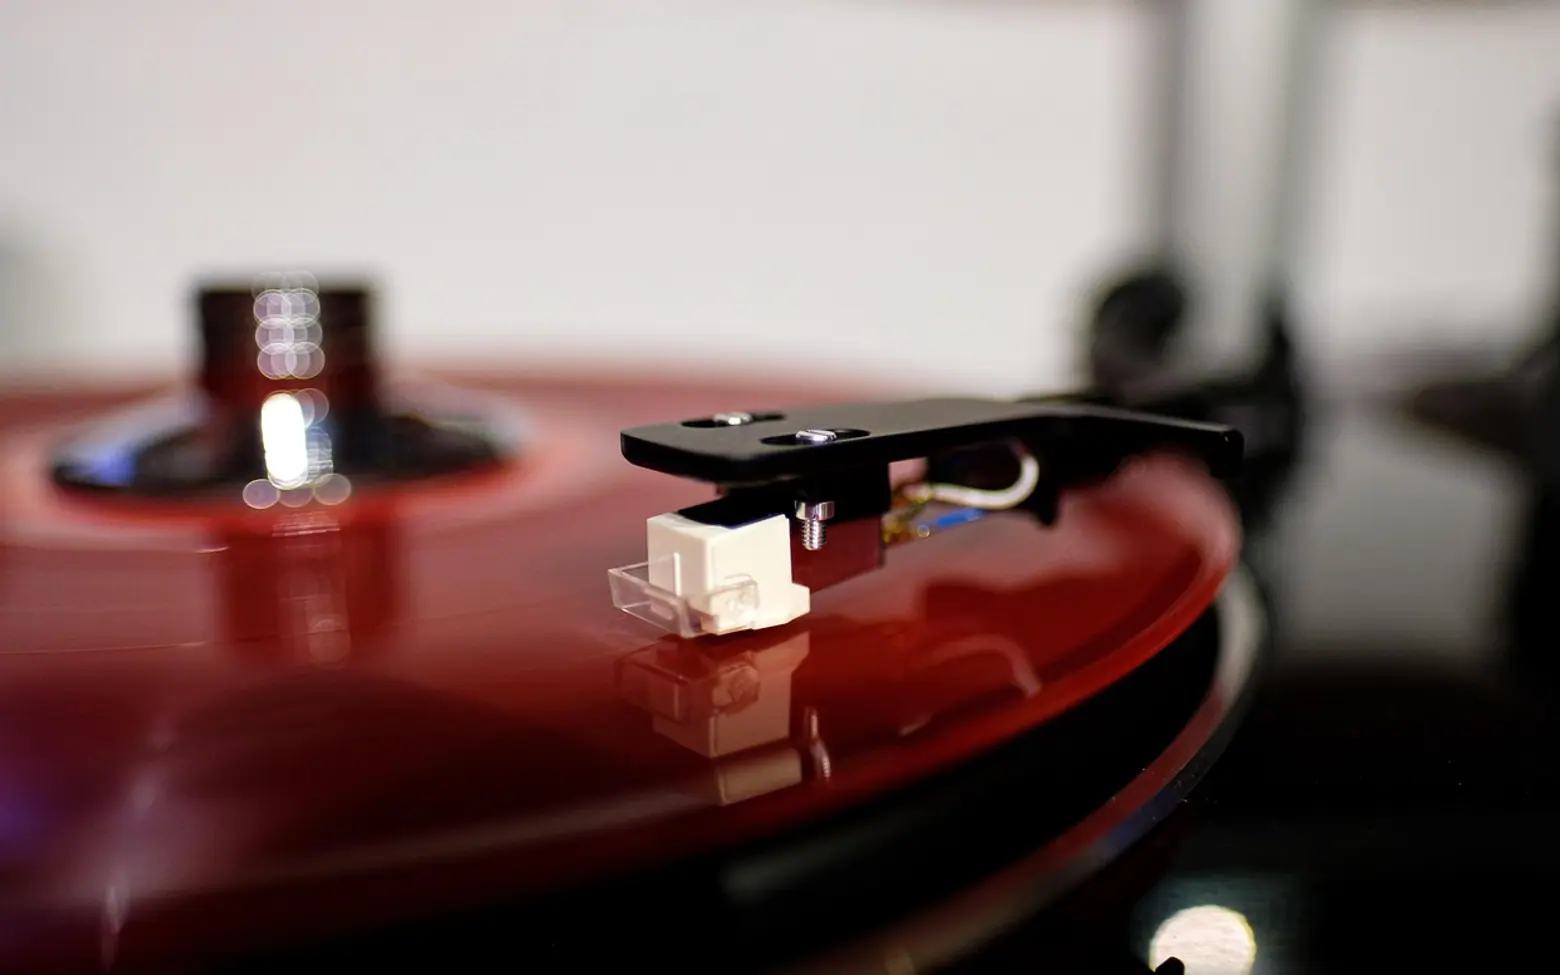
To set up a turntable, put it on a solid, level surface away from the speakers, fit the platter and belt, balance the tonearm, dial in the tracking force and anti-skate the cartridge maker recommends, then connect it through a phono preamp to your amplifier or powered speakers. It takes well under an hour, and getting it right protects both the stylus and your records.
Before you start
Lay everything out and read the manual once, even if you think you know the drill. Models differ in small but important ways. Check for:
- Transit screws or clips that lock the platter or tonearm during shipping
- A protective cap on the stylus
- The drive belt, often taped to the platter or packed separately
- The counterweight, which screws onto the back of the tonearm
- A thin ground wire next to the audio cables
Step 1: Choose the spot and level it
A turntable reads microscopic grooves, so vibration and tilt matter. Place it on a sturdy cabinet or wall shelf rather than a wobbly side table, and keep it away from speakers, especially a subwoofer, which can shake the stylus and cause a low howl called feedback. Put a small spirit level on the platter and adjust the turntable's feet until the bubble sits in the centre both front to back and side to side. A tilted deck can make the stylus lean on one wall of the groove.
Step 2: Fit the platter and belt
Lower the platter onto the spindle. On a belt-drive model, loop the belt around the inner rim of the platter or sub-platter, then stretch it onto the motor pulley; many manufacturers include a ribbon on the platter so you can pull the belt across without touching it with greasy fingers. Add the mat on top. Direct-drive models skip this step.
Step 3: Balance the tonearm
This is the part that worries most people, but it is simple once you see it:
- Set the anti-skate dial to zero.
- Screw the counterweight onto the back of the arm.
- Remove the stylus guard, lift the arm off its rest and hold it gently over the gap between platter and rest.
- Turn the whole counterweight until the arm floats level on its own, neither dipping toward the platter nor rising.
- Return the arm to its rest and clamp it.
Step 4: Set the tracking force
Tracking force is the downward pressure of the stylus on the record, measured in grams. Without moving the weight itself, rotate only the numbered ring on the counterweight to zero. Then turn the whole counterweight, ring included, toward the pivot until the scale shows the figure listed in your cartridge's manual. Too light and the stylus may skip or distort on loud passages; too heavy and it presses harder than it should. An inexpensive stylus force gauge gives a more accurate reading than the printed scale.
What about cartridge alignment?
Many all-in-one record players arrive with the cartridge already fitted and aligned. If you are mounting one yourself, a printed alignment protractor helps you set the overhang and angle so the stylus sits square in the groove across the whole side.
Step 5: Set the anti-skate
As a record spins, the arm is naturally pulled toward the centre. Anti-skate pushes back slightly so the stylus tracks both groove walls evenly. Many manuals suggest matching the anti-skate setting to the tracking force as a starting point. If one channel sounds harsher or more distorted than the other near the end of a side, small adjustments can help.
Step 6: Connect the sound
The signal coming out of a cartridge is very weak and needs a special boost and tone correction before an ordinary amplifier can use it. That job belongs to a phono preamp, also called a phono stage. It can live in one of three places:
| Where the preamp is | How to connect | Switch setting |
|---|---|---|
| Built into the turntable | Turntable to an AUX or LINE input, or straight to powered speakers | Turntable switch on LINE |
| Built into the amplifier | Turntable to the amplifier's PHONO input | Turntable switch on PHONO |
| Separate box | Turntable to the preamp, preamp to a LINE input | Turntable switch on PHONO |
Use only one preamp. Running a signal through two will sound loud and distorted; using none will sound thin and very quiet. Finally, attach the ground wire to the GND screw on the amplifier or phono stage to keep hum away. If you are also arranging speakers for films, the placement tips in our guide on how to set up a home theater work for music listening too.
Step 7: Choose the speed and play
Most full-length albums play at 33⅓ RPM, and most seven-inch singles at 45. Some twelve-inch singles also run at 45, so check the label. Very old shellac discs need 78 RPM and a different stylus, so do not play them with a standard modern cartridge. Use the cueing lever to lower the arm gently onto the lead-in groove rather than dropping it by hand.
Troubleshooting common problems
- A steady hum: the ground wire is missing or loose.
- Thin, faint sound: no phono preamp in the chain.
- Harsh, overloaded sound: two preamps in the chain, a worn stylus, or tracking force set too light.
- Skipping: the deck is not level, it sits near a vibration source, or the tracking force is off.
- Music runs fast or slow: the wrong speed is selected or the belt has slipped or stretched.
Keep it sounding good
Close the dust cover when the deck is not in use, give the stylus a soft brush from back to front now and then, and handle records by their edges. A well-tuned deck is a lovely way to spend an evening in, whether you are spinning old jazz or the crackly records that inspired lo-fi music. Build a running order before friends arrive, using the ideas in how to make a playlist people actually enjoy, and flipping sides becomes part of the fun.